
Learn the process to transfer data from QuickBooks desktop to QuickBooks online.
Getting your Company file transferred from QuickBooks Desktop to QuickBooks Online is pretty easy. You just need to know the basic steps to prepare and move the company files to QuickBooks Online. This blog encapsulates and elaborates 4 simple steps that you need to follow to import data from QuickBooks desktop to QuickBooks online. So, keep reading the article.
Steps to Import data from QuickBooks Desktop to QuickBooks Online
As a user of QuickBooks Desktop who has switched to QuickBooks Online or planning to switch, you need perform the following steps for getting your Company files transferred or imported from QuickBooks Desktop to QuickBooks Online.
Step 1: Preparing the Desktop file
- The first necessary action involves updating QuickBooks to the latest release. For this, you can simply launch QuickBooks as an admin.
- Then, go for Help tab and head to the option “Update QuickBooks Desktop”.
- This should be followed by a click on Update Now, and also clicking on Reset Updates option.
- Now, click on Get Updates to start the download.
- When the downloading is done, soon after, you need to run QuickBooks to install the downloaded updates.
- Now, when QuickBooks is up-to-date, you now need to ensure that the Company file is within the size limit. The targets should be less than 750,000 before it can be successfully imported to QuickBooks Online.
Users may also read: How To Resolve QuickBooks Online Error Code 1000?
Step 2: Save Sales Tax Liability Report
Here are the steps you need to follow.
- First you should go for printing of Sales Tax Liability Report and soon after adjustment entries need to be entered, the steps for which are below:
- Head for Reports and after this, you need to go for Vendors and Payables.
- The next step should be selection of Sales Tax Liability. Now, from Dates, you need to click on All.
- Also, from Print, go for the Save as PDF option.
- Save the file to a suitable location. In case you are using QuickBooks Payroll, you are required to go for the termination or deactivation of any employees who are not working anymore and are unpaid for the present year.
Step 3: Moving QuickBooks Desktop to QuickBooks Online
For users who have a QuickBooks version older than 2020, data can be moved from QuickBooks Desktop to QuickBooks Online using an Online Tool.
Process for QuickBooks Desktop Pro or Premier
The process for QuickBooks Desktop Pro or Premier involves the following steps:
- The first step requires signing in as an admin and then making a move to Company.
- This should be followed by the option to Export Company file to QuickBooks Online.

- Now, you should click on Get Started option and then sign in to the QuickBooks Online company. This should be followed by a click on the Company file to be replaced with your Company file.
- After that, the next step is to click on Continue.
- In case you go for inventory tracking in QuickBooks Desktop, you need to click on Yes to invite them and then enter as-of date. You need to enter the first day soon after the last tax filing period as the inventory start date.
- Else, you can click on No for setting up new items later in QuickBooks Online.
- You should then click on Agree and followed by that, click on Replace.
- You can then hit on Yes, and replace the data, followed by clicking on Replace.
- Process for QuickBooks Desktop Enterprise.
Related topic: How to set up folder permission in QuickBooks desktop?
Process for QuickBooks Desktop Enterprise
The steps for QuickBooks Desktop Enterprise are:
- You need to first sign in to your QuickBooks Desktop Company file and then you can press Ctrl + 1 for opening the Product Information window.
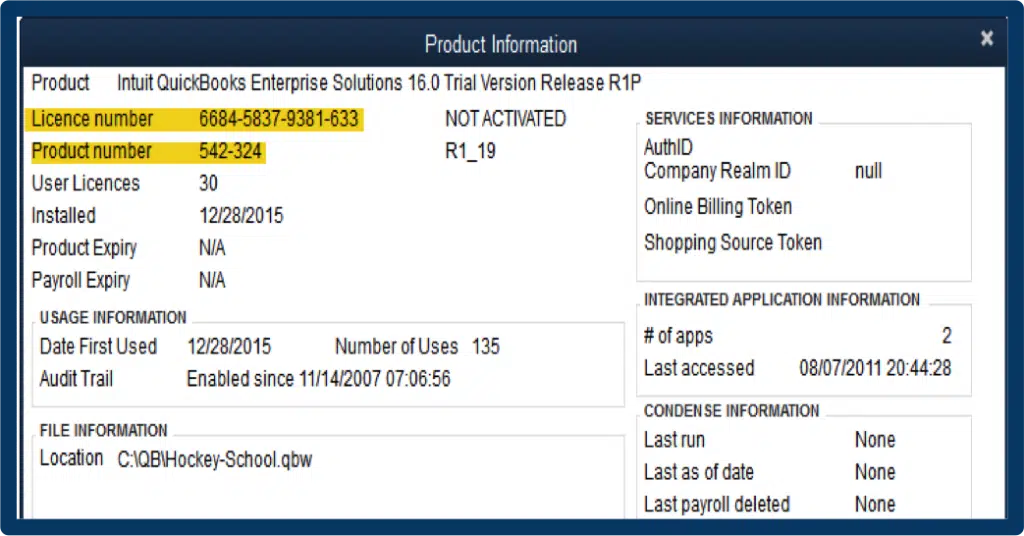
- Soon after, you can press Ctrl + B + Q, and then click on Ok. In the export window, you need to click on Get Started.
- You can then sign in as admin to the QBO Company and then make a choice for Choosing the online company. Now, you can choose the company file to replace the existing one.
- Then you can click on Continue.
Step 4: Using QuickBooks Online
After performing the steps discussed above, you need to do the following:
- Connect the bank or credit card account
- Try creating and sending invoices to customers.
- You can also track bills and then learn the process to pay them in QuickBooks.
- You can now get started with QuickBooks Online and use the Company file.
That’s it!
In the present blog, we covered all the steps to help you import data from QuickBooks desktop to QuickBooks online. If you want to share any queries with our QuickBooks experts, you can call us or reach us through the chat support.
Similar blogs:
Resolve potential data issues in QuickBooks desktop
How to fix IIF Import Error In QuickBooks Desktop?
How To Create And Open Portable Company File In QuickBooks Desktop?