Sometimes the user want to access the Excel workbooks in QuickBooks, the export feature of QuickBooks enable this. We can save the file as workbooks with the extension of excel, CSV spreadsheets, or in the pdf form. One needs to perform the steps carefully to export reports as Excel workbooks in QuickBooks Desktop.
The article gives an overview of the methods to work on Excel spreadsheets in QuickBooks without affecting data.
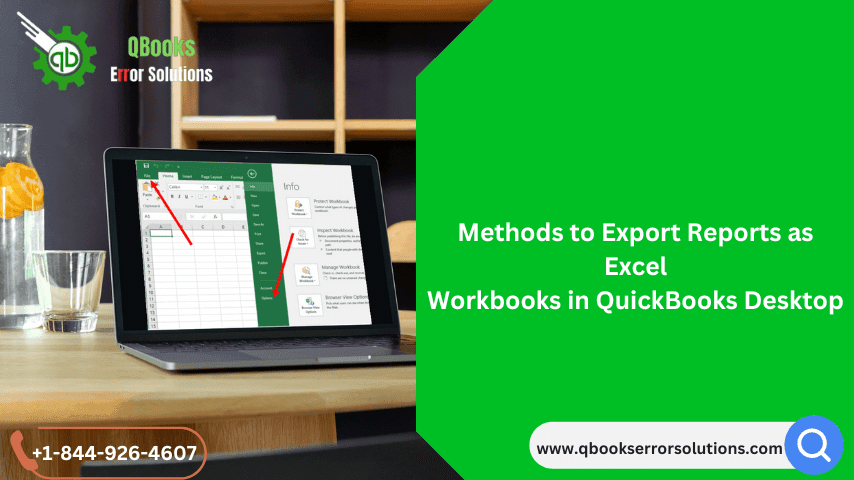
Easy Methods to Export an Excel Report in QuickBooks Desktop in Windows
Follow the process to Export the Excel Report in QuickBooks Desktop in windows:
- First, go to Reports menu >Reports Center in QuickBooks.

- After that, look and open any of the report you want to export.
- Select Excel on the toolbar, then choose Print to Save the report as PDF.
- Either create new Excel workbook or choose existing excel file to update by selecting Update Existing worksheet.
- Browse and select workbook on the system. But it will overwrite the workbook.
- The user can format the data according to him by selecting Advanced.
- When ready to export, click OK.
- Go to Export tab, to open in Excel.
Important points-
- Reports should have less than 256 columns.
- If there are more columns, select Advanced tab and uncheck the space between columns, then OK.
- Save the report as CSV, instead of Excel for more columns.
Method to Export a Report in QuickBooks Desktop for Mac
Follow the steps to export the report in QuickBooks Desktop for Mac with Apple number, MS Excel 2016 or Mac Office 365: –
- Go to Reports and select report to be exported.
- Select Export.
- Select file, open and click on Save as to save the file.
- When QuickBooks opens the Excel workbooks with default, made by the user.
- To change this, right click on the file and then Get info.
- From open with menu, select MS Excel or Apple number, then select change all.
Process of getting updated Reports while working in Excel
After exporting the Excel workbook in QuickBooks system, a user can get notification for latest updates. When you are updating, ensure QuickBooks is open. It will set preferences and permissions automatically.
Even QuickBooks is closed, the user may get excel report update.
- Go to QuickBooks tab in MS Excel. First time exported report will itself get added.
- Select Update Report to get latest version installed.
Generation of Excel Based Payroll Reports
It has the data which is in Excel. Following are the Excel Based Payroll Reports available:
- Summarize Payroll Data in Excel
- Payroll by Department/Class.
- Certified Payroll Report.
- Deferred Compensation Report for 401(k) and (more)
- Payroll Summary by Tax Tracking Type
- Employee Time and Cost
- Local Tax Summary
- Employee Sick and Vacation summary
- Employee Direct Deposit Listing
- Payroll Liability Accruals and Payments
- Tax Form Worksheet.
Generate Summarize Payroll Data Report in Excel
Summarize Payroll Data Report contains information such as:
- Employee General By Check
- Deferred Compensation
- YTD Reports
- Rates and Hours by Job
- StateWage Listing
- Effective Dates by Item and Employee
- Quarterly Employee Summary
- 8846 Worksheet.
Conclusion
The following article is a brief on how you can Export Reports as Excel workbooks in QuickBooks Desktop. This gives a compatible feature of QuickBooks, which allows users to work on Excel Data in QuickBooks. From the following methods we can easily Export workbook files in QuickBooks Desktop, and perform operations on it. If still you are stuck with how to Export Reports of Excel workbook in QuickBooks Desktop, then be comfortable to take QuickBooks Support experts help. Dial the helpline number +1844-926-4607.
Recommended to read:
QuickBooks Tool Hub – Download, Install and Use it to Fix Errors